Guide for Trainers
Using DaDesktop Virtual Desktops for effortless course training
DaDesktop Virtual Desktops make it simple to set up online courses anywhere in the world.
Keep in mind: DaDesktop (DD) now supports having one or more trainers per course.
Each trainer gets their own DaDesktop login and can take control of the ‘Trainer Desktop’ as if it were their personal machine.
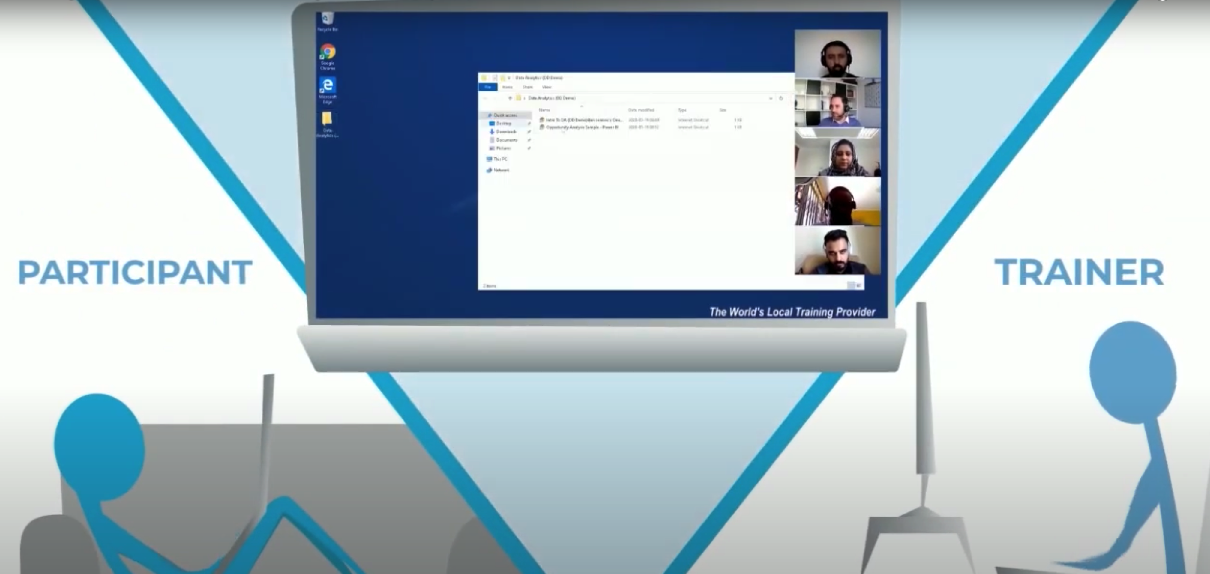
The concept is that both trainers join the audio conference and can swap control of the Trainer Desktop at appropriate intervals. This proves particularly beneficial for longer courses, or any course that benefits from having two subject-matter experts share their insights with participants.
Before creating a new course
- Trainers should reach out to the course organizer with the following details:
- Course specifics (title, schedule, number of participants)
- Trainer and delegate locations Greece (so we can recommend the optimal datacentre)
- Trainer email addresses
- Recommended browsers for training
- Chrome
- Firefox
- Microsoft Edge
- Network
- DaDesktop users need a reliable internet connection
- Using public Wi‑Fi, like in a coffee shop, isn’t recommended because it’s often unstable
- Before the training, remember that DaDesktop is a web‑based training portal
- Internet speed should be faster than: "10 Mbps download & 1 Mbps upload"
-
Dual screens and a camera are preferred whenever possible
First step: How to set up your course
- Course coordinators assist you in setting up the course
- Add trainers to the course by sending them the registration invitation link
- Each trainer receives an email with the course details and a login link
- Trainers can log in using their account via https://dd4t.dadesktop.com
- Then, send the pink course invitation to participants
-
Note: Even if multiple trainers are involved, only one Trainer machine is used throughout
Second step: Prepare your "DaDesktop" for the course
- Click "Create from OS template" to set up the Fresh Start desktop. The Fresh Start serves as the development machine where the trainer builds the course content. Once ready, this desktop is cloned to the Trainer Desktop and the Participants desktops. If you already have a 'Standalone' machine containing your course materials, click the dropdown arrow and select that standalone option.
- Choose the OS template, pick the nearest datacentre, and select the configuration you need for the training. Then click 'Create Desktop'.
- Connect to the desktop and set up your course content inside the DaDesktop VM
- If your course requires multiple machines, install Virt Manager (preferred on Linux) or VirtualBox inside DaDesktop. You can then run several desktops simultaneously within DaDesktop. The entire machine will be cloned to each participant and your Trainer machine.
- If you plan to use Windows 10 Pro, we recommend converting documents to PDF first, as MS Office isn’t included in DaDesktop
- Download any necessary files and prepare them just as you would on your own computer
-
Only use the automatically assigned DHCP IP addresses for Fresh‑Start machines. DO NOT use Static IP addresses or alter MAC addresses or DNS settings on these machines, as that will cause problems when they’re cloned to the Course Desktop VMs. Also, please don’t change the computer name, as that can lead to issues within DaDesktop.
If you need any assistance with these steps, please contact Tech Support.
Third step: Clone desktop to all participants
- When you’ve finished preparing the "Fresh Start desktop", exit and stop it
- In the Trainer section, click "Create from Fresh Start desktop" to clone a desktop identical to the Fresh Start machine
- If delegates are located in different regions, use the dropdown next to "Create from Fresh-Start Trainer desktop" to clone machines into each delegate’s region
-
The dropdown also provides other options, such as Clone from Standalone and Create from OS Template
Final step: Join the Training Room
- Trainers and participants should click 'Training Room' to join the session together
- Upon entering the Training Room, the system automatically clones the FreshStart desktop to all participants
- Within the Training Room, audio and video recordings are made automatically
- Each delegate sees two desktops – the Trainer’s desktop and their own – so screen sharing isn’t necessary
- Inside the Training Room, the trainer can view all participants’ machines along with their own, and can take remote control of any individual machine to offer help. Participants see only their own desktop and the trainer’s desktop.